Bleached T-Shirt tutorials are all over the web but I thought I would share how I made mine anyway because I'm so in love with my new t-shirt, and because I had to overcome a few, erm, issues during the making process.
I originally wasn't going to post this because I bought the wrong type of greaseproof paper. 'Freezer Paper' in the UK is 'greaseproof paper' but it needs to be the plastic-backed stuff or you can't iron it on. I overcame this by using tape but I know I would have got a cleaner result if I had used the right type of paper.
I'm going to be stocking up on cheap thrifted tee's for more designs. Do you like?
You will need:
A dark coloured t-shirt in cotton or jersey fabric
Greaseproof papr (or in fact, any paper as this is not an iron-on method)
A beaker to mix bleach in
An old spray bottle (washed out well!)
Graph paper
Sharpie
Pencil
Ruler
Craft knife.
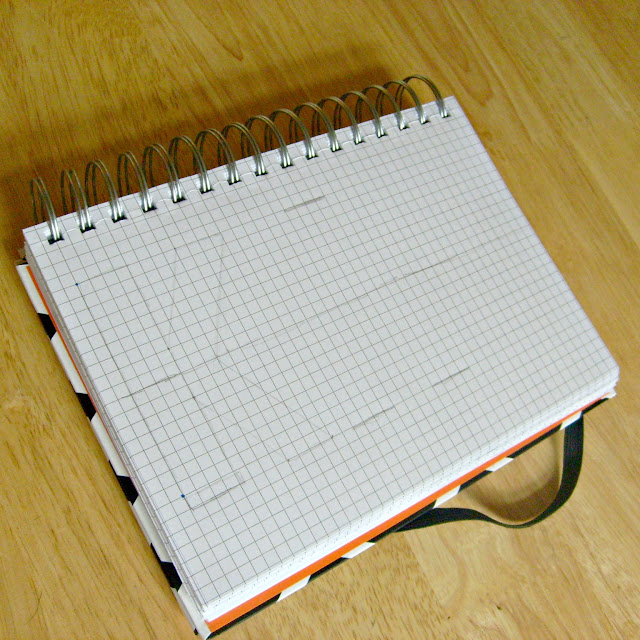
1. Draw out your word on graph paper. I had to do the K A I on one page and the T E on another to fit it in. You could use your regular writing but I used block capitals as they are easier to cut out. I'd probably do them a little small if I was to do it again.
2. Trace over your design in Sharpie (or any felt tip or thick pen)
3. Transfer your design to the greaseproof paper or whatever paper you are using. Thick scrap paper might work too.
4. Position your design to make sure you have enough room on the shirt. Probably should think about this before taking the time to draw it out. Mine fits, just, but with the leaky bleach I ended up with a much bigger name than I thought. I'll know next time!
The hearts were a little optimistic for my knife skills :-)
5. Okay, so this is where things just kind of kooky. Bear with me! I realised before cutting that the paper wasn't going to be the iron on kind. For your reference, if you live in the UK, you are looking for PLASTIC BACKED greaseproof paper. Not 'butchers paper' or 'baking paper' Just Plastic Backed Greaseproof Paper. They don't sell it in Asda, Wilkinson or Poundland. Bloody inconsiderate if you ask me.
So after you have cut out the design, place it over the t-shirt and tape in place I've taped the edges and also used the very edge of a number of extra strips to adhere the sticky-out bits to the t-shirt. Brown packing tape worked perfectly. You won't be able to see any of the tiny indentations afterwards because the bleach will 'bleed' out under the paper. So go for it with the tape. If I made this short again I would tape MORE, especially on the K T & E. See why below.
6. Make up a solution of 1 part water to 1 part bleach. Do this in a ventilated area with no children or pets and if you are the spilling type (which I am) cover everything including yourself in plastic.
Place a piece of cardboard between the layers of your shirt to protect the back.
Pour the solution in the spray bottle and spray directly onto the t-shirt. Try not to aim at an angle. A few short sprays on each letter should do the trick.
Peel the whole stencil off and remove the tape. You'll need to chuck that now because it will be wet and icky.
7. Wait for 15 minutes. You'll see the design start to develop! Once you have done the waiting part rinse your t-shirt in cold water and chuck it in the washing machine on a quick wash. I probably wouldn't recommend putting anything else in the machine at the same time just in case.
Once your t-shirt is dried, wear with pride :-)
Please let me know what you think and if you try this out! I'd love to see your take on this DIY :-)


No comments:
Post a Comment